My stupid central heating and air conditioning system quit on me back in March of 2014, just in time for the stinkin' hot Tennessee summer. This was a new townhouse five years ago. The builder apparently gave me "half a ventilation system, to save money and make more profit on the project", according to one anonymous AC pro I consulted with on the system's shitty performance very often over the last five years. This after they removed all the trees from the back of the property soon after I signed on the dotted line. If you get the urge to purchase a new property from "Creative Homes", run, don't walk away. Expect paper-thin walls and half a ventilation system, to start.
In a prime example, here's the latest announcement from the original developers, a change from residential to commercial zoning right behind the property, so it will be constant construction for the foreseeable future:
 |
| Greedy Developers in Action |
Getting back to my particular unit, So the system ran constantly and the upstairs still remained too hot or too cold, compared to the downstairs, until eventually it wore out prematurely, due to doing the work of two separate units. Plus, utility bills were huge, in the half my time I spent actually living here, in this Godforsaken backwater I accidentally got stuck in for way too long, due to a crappy real estate market back in 2009. I guess I really got screwed on my first-ever home purchase. I always learn the hard way, which means I am too soon old and too late smart. (See builder website link, Creative Homes).
Anyways, I had to eventually install a massive Frigidaire A/C window unit, due to the hot summer season, and it did a great job keeping at least the downstairs bearable through the warm summer. Problem is that it's now Winter and the A/C is letting in the cold air, so I "winterized" it.
I don't have any experience with such things, never having had a wall AC unit before in my past living spaces, so I did what made sense to me and applied sealing and insulation around the outside window. Here is how I did it:
 |
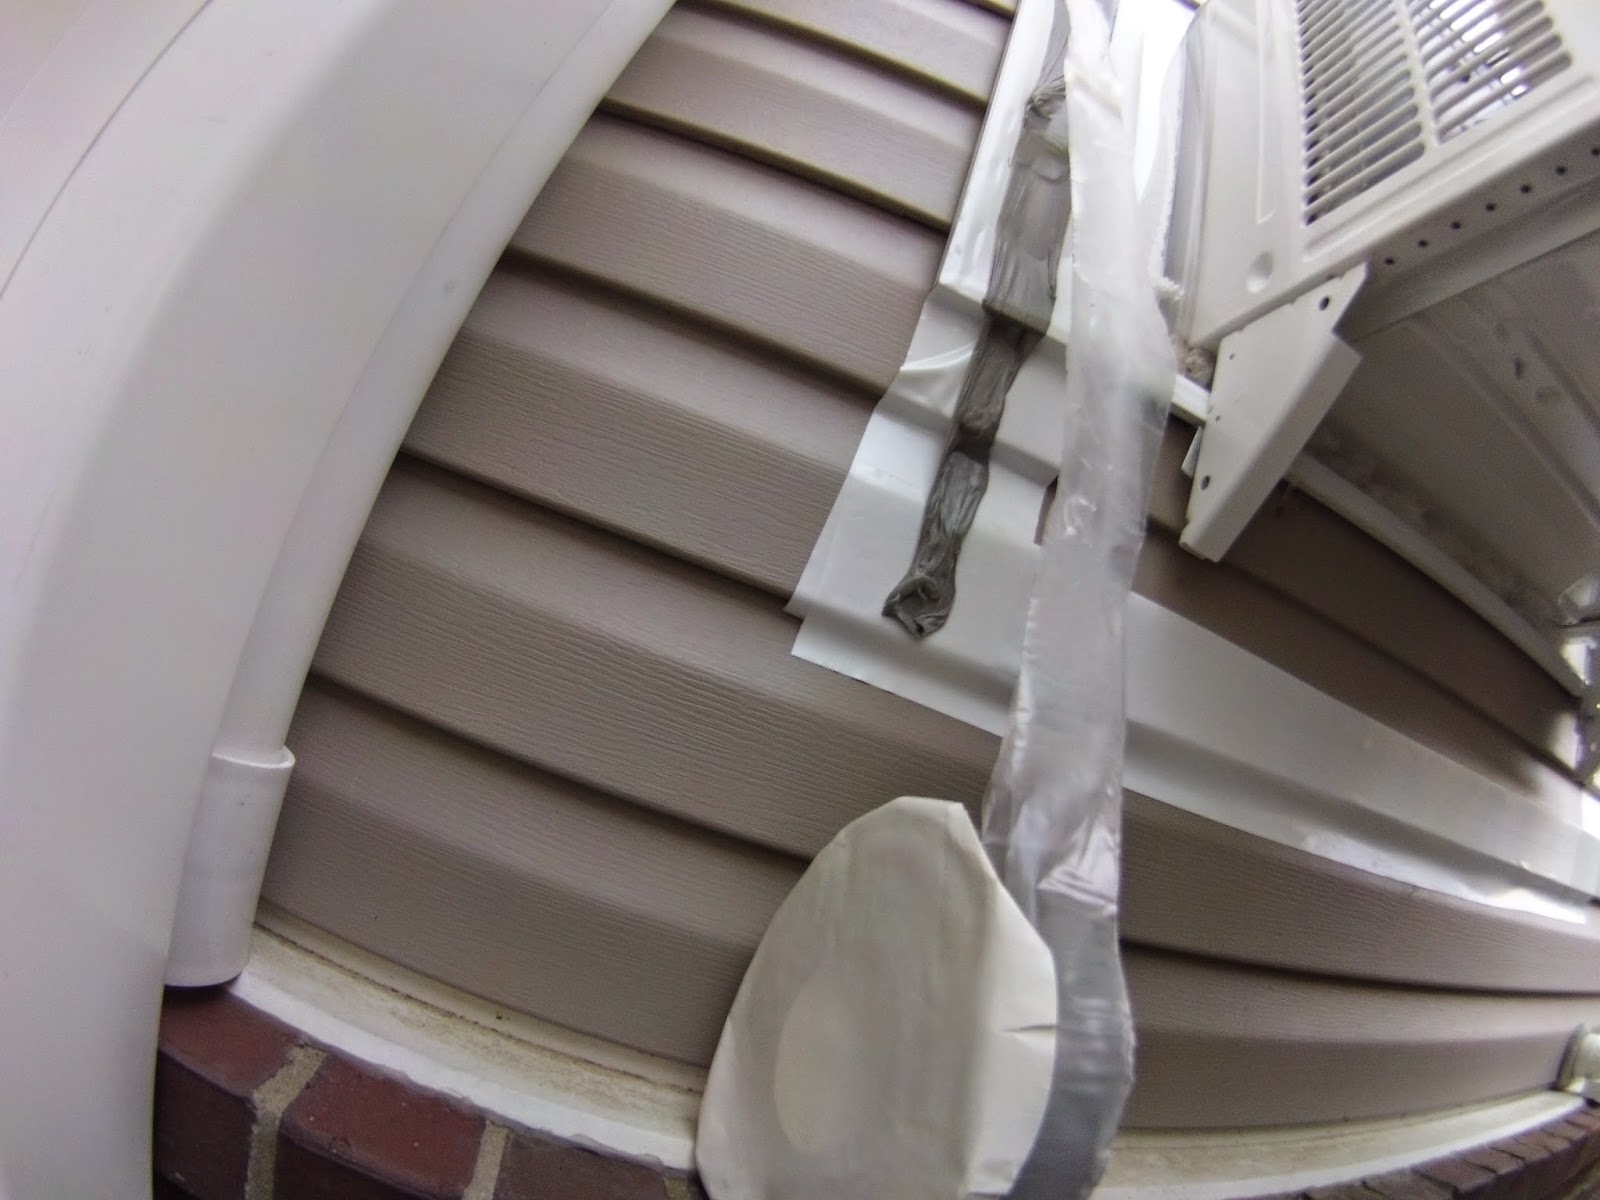
| Step One - Put wide duct tape around the edges. |
I used
epoxy tape from my radon mitigation days for securing the plastic liner, but before sticking this to the wall, you will want to lay some tape down, so you will be able to remove the whole contraption in the Spring.
Epoxy tape itself is fairly permanent, so you don't want to stick it directly to the building.
 |
| Be sure and tape fully around the unit. |
 |
Next measure out enough plastic sheeting to attach to the perimeter.
|
Next, you want to cut enough plastic sheeting to cover the tape around the perimeter. I used vapor barrier from my radon mitigation and crawlspace-sealing days. This particular brand is 6 mil thick. Here is a link to a 6 mil, 20x25 ft. sheet:
Warp Bros 6 mil.
 |
| After you cut your sheet of plastic, keep it at the ready. |
 |
| Cut the Eternabond with quick, short strokes with a box-cutter |
 |
| Be careful to peel the two-sided tape sticky side to the wall first. |
 |
| Next, peel the plastic off the outer side of the Eternabond. |
 |
| Next, carefully stick the plastic to the sticky side of the entire perimeter. |
Smooth around the edges to make sure the plastic has an airtight seal. Then wrap insulation around the plastic cover, using small strips of Eternabond tape to secure the insulation. Then wrap duct tape around the insulation to hold it in place.
Lastly, wrap another layer of plastic around the whole thing, sticking it to what's left exposed of the Eternabond on the edges, to ensure that no water leaks in and soaks your insulation layer.
 |
| Not pretty, but effective. |


No comments:
Post a Comment